Welcome To Oakford Help
OIS Webadmin - Create a filtering GroupIn this example we want to allow a specific user to have access to Facebook.
Log into the webadmin - https://webadmin.filteredinternet.co.uk/webadmin
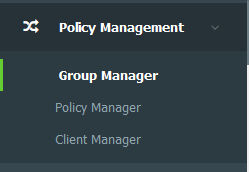
When you are logged in select Policy Management -> Group Manager
Select the group the user is already in. In my example I am going to allow one staff memeber access to Facebook.

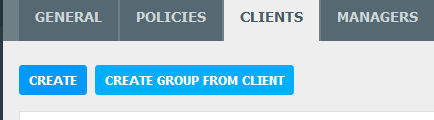
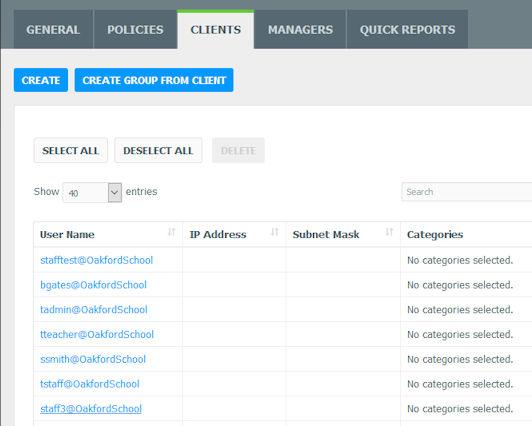
Click Clients (top menu)

Then Click Create Group From Client.
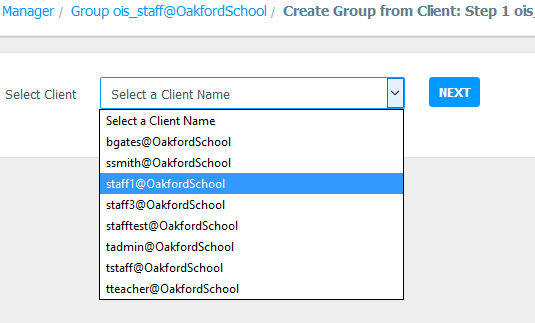
From the drop down menu select the user you want to add and press Next.
Select Move Client to new Group.
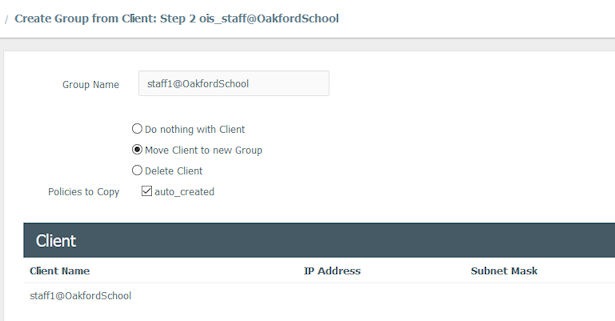
Then press Next (bottom right hand corner)
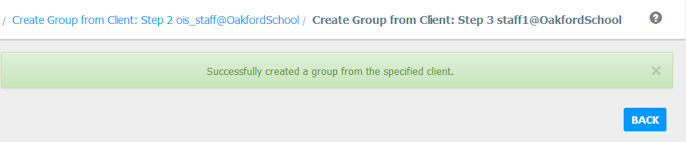
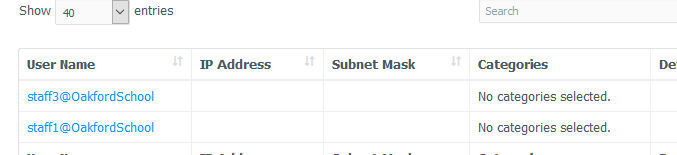
You will now see a new Group in Group Manager.
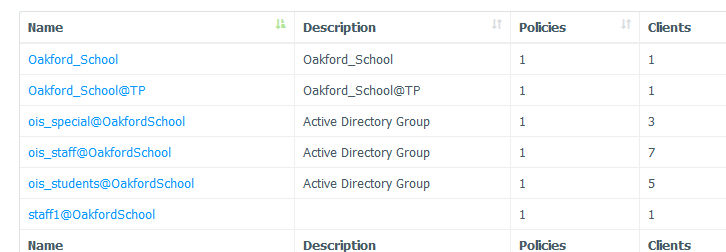
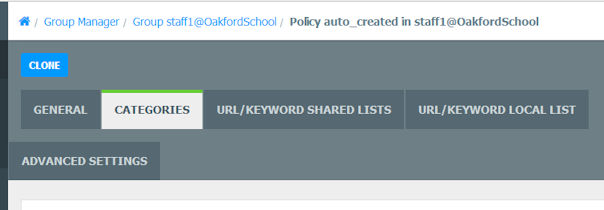
Select that Group -> Policies -> List -> click auto_created.
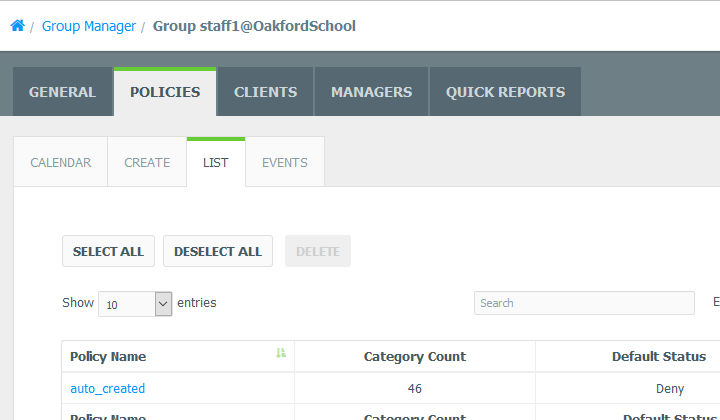
You could either allow the social networking Category or add the Facebook URL.
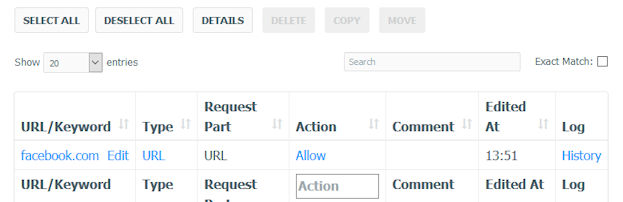
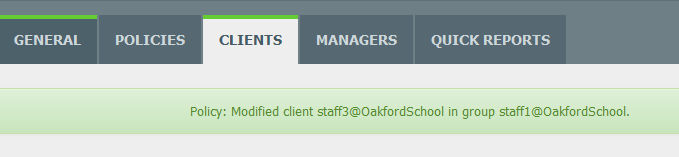
From the logs you will see that user has been moved to the new group and facebook is allowed.

You can use this way to also block cetain people's access to the internet. When you have created your group go to Policies -> List -> auto_created then Categories.
Select Custom
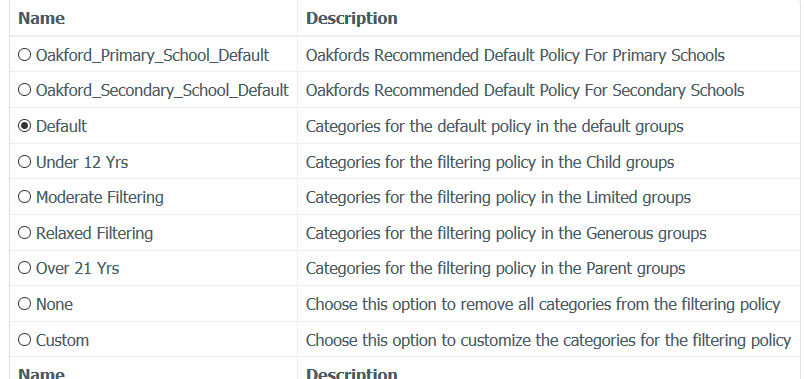
And select every category
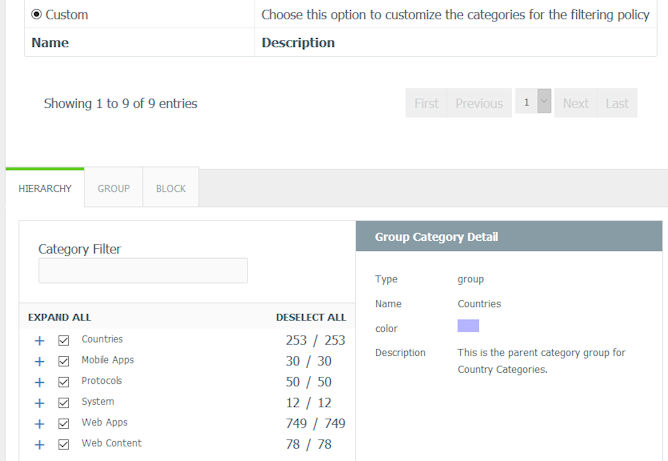
This will then block access to every website.
Adding Multiple Users
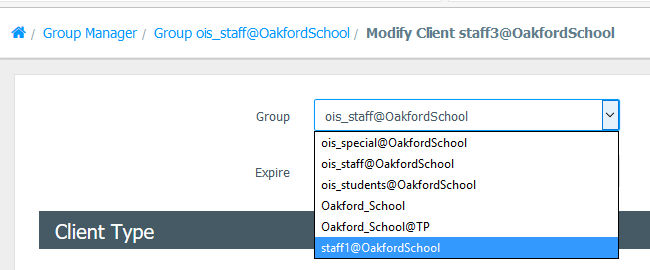
Once you have your new group created go to the group the users are already in. And select a user you want to move.
At the top in Group select the new group you want this user to go into.
Then press Submit (at the bottom of the page)
You will now see the user in the new group.